Running the 1/16" x 1/16" longitudinal stringers was the last major step in forming the final shape of the hull, so I absolutely had to make sure that they were laid on the disc rings right.
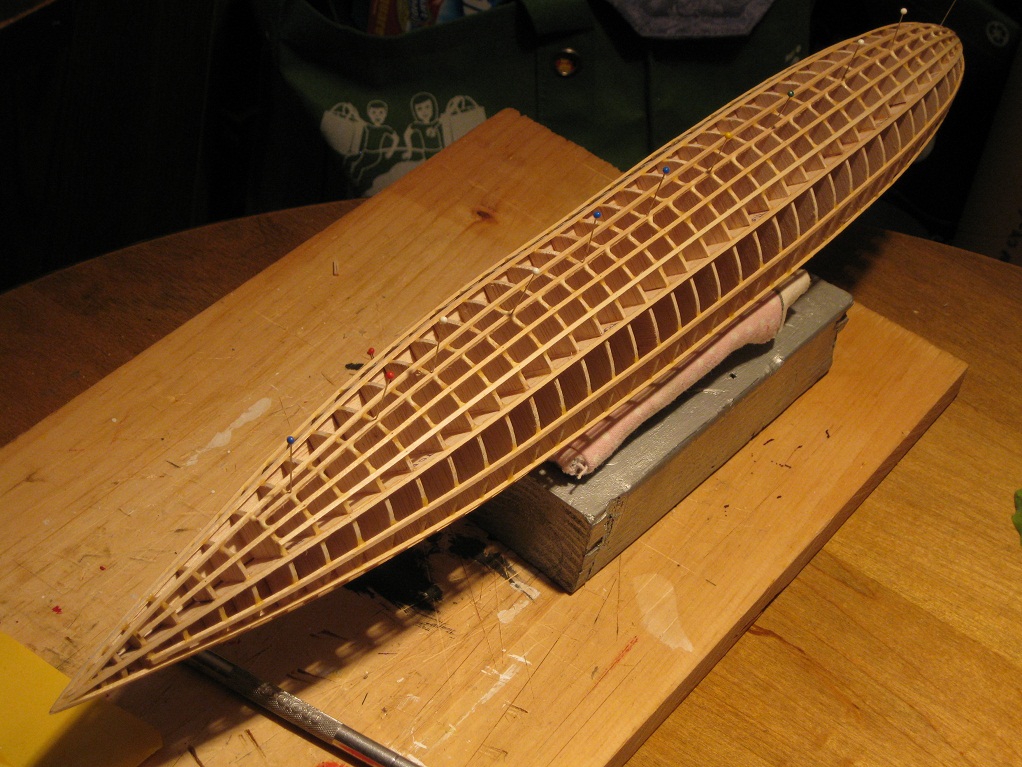
I had to follow a distinct pattern around the hull as the ship in cross-section of the middle part is a 25 sided polygon, hence the reason why I had to mark the rings every so often along the length of the hull, showing the proper placement of the strips. From the front of where the fins start to where they end, it drops down to 14 sides, and from that point to the tip of the stern, it drops down to 7 sides. The first strips that I ran were the 7 that run from the tip of the nose to the tip of the tail. Then I ran the other ones that ended at the back ends of the fin mount point at that disc next, then after that, the ones that ended at the front of the fin mount point, at that disc. You can see the different length longitudinals clearly in the last images of the completed frame work. The first two strips ran were the two that flanked the bottom of the keel, on the bottom of the ship, as shown in the top picture, as the hull is rolled on it's side in that image.

Before I could install any of the stringers, I had to "pre-curve" them to fit the contours of the discs, as if I tried to make them bend without doing this, they would just snap. So taking my wife's rolling pin, I would roll each stringer. This would have the effect of curving the stringer to the shape of the hull, so it would be easier to glue and pin it in place on the subframe assembly without putting any sharp kinks or cracks in the strip. I would roll the front end of the strip with more pressure for the nose, putting a sharper curve, there. As I got to the middle of the strip, I would ease up on the pressure greatly, but as I got toward the tail, I would increase the pressure again, but not as much like I did for the sharper curve of the nose.
I would then glue and pin the strip in place, one at a time, overlength at the tail, then after they were in place, I would cut them to their proper length, as to where they were supposed to end at.
Follow along as the final shape of the hull emerges, as I glue and pin on the longitudinal stringers, one at a time.
Basic hull framework completed!
Looking more like the R-34!
After all the longitudinals were in place, all the rough spots were sanded smooth.
Jim.


No comments:
Post a Comment