
For about the last three weeks, I have been working on an
imported paper card stock model kit of the Parthenon from Latvia. This has been
one of the most intense and at times a frustrating model, as some of the 400
plus parts this kit has are very tiny and must be cut out scored and folded
very precisely before the model can be glued together, using white glue. The
main problem is keeping the whole thing from warping out of shape as I put the
thing together. But my patience is starting to be rewarded as the model is
starting to come out nicely in what is the final assembly stages...

This is one of THEE hardest card stock models I have
attempted to build. A little frustrating at times. That is when I stop and let it sit for a couple of days to
refresh my brain to keep on going. The instructions that came with the kit are
really very poor, and is really only showed in two poor general overall blowup
pictures of the sub assembled folded up parts
being assembled into the main model. They do not even show how the
individual parts themselves are folded up to be assembled. Alot of the pieces, you really have to just
sit, and study the two exploded view drawings of the model, then study the
actual printed part on the paper sheet before you cut out, score for folding,
and glue together the piece.
Models of this type, I have designed and built a few,
myself, and they are a passion of mine.
The packaging says you can build it in 8 hours. Baloney!
This model is so complex, I believe I already have more than two times that
amount in it already!! And I consider myself to be a seasoned modeler with
close to 50 years experience. This is DEFINITELY not a model for the inexperienced
builder. I'm having a bear of a time with it, but it is still fun, and I love a
challenge!


After over a three week time period, I easily have about 30-35 hours labor time in this thing. That is, cutting out, scoring the parts, folding them, then gluing the parts together. Then after enough parts are together, you can take those parts and start to assemble the model in steps. Some of the parts were so tiny that I had to have a 100 watt work light aimed at the work board so I could see clearly what I was doing, with my strongest bi-focals on, after a while, my eyes and brain still went wonky on me at times. That is when I would quit for the day and continue to work on it a day or several days later. But other than some minor warpage issues, which I think I was able to correct, I think this model came out beautiful.

To sum it up this way, this is NOT a model for a beginner to
try out. Especially with the 400 plus parts the thing has in it in total. The
kit says it has 383 parts total, but the 23 inner upper level pillars in the
naos where the Athena statue is at, did not have capitals, so I made those out
of scrap paper that was left over from that days work and glued them on to the
tops of those pillars. The model came out FAR from perfect, but at least I was
able to get it to come out.


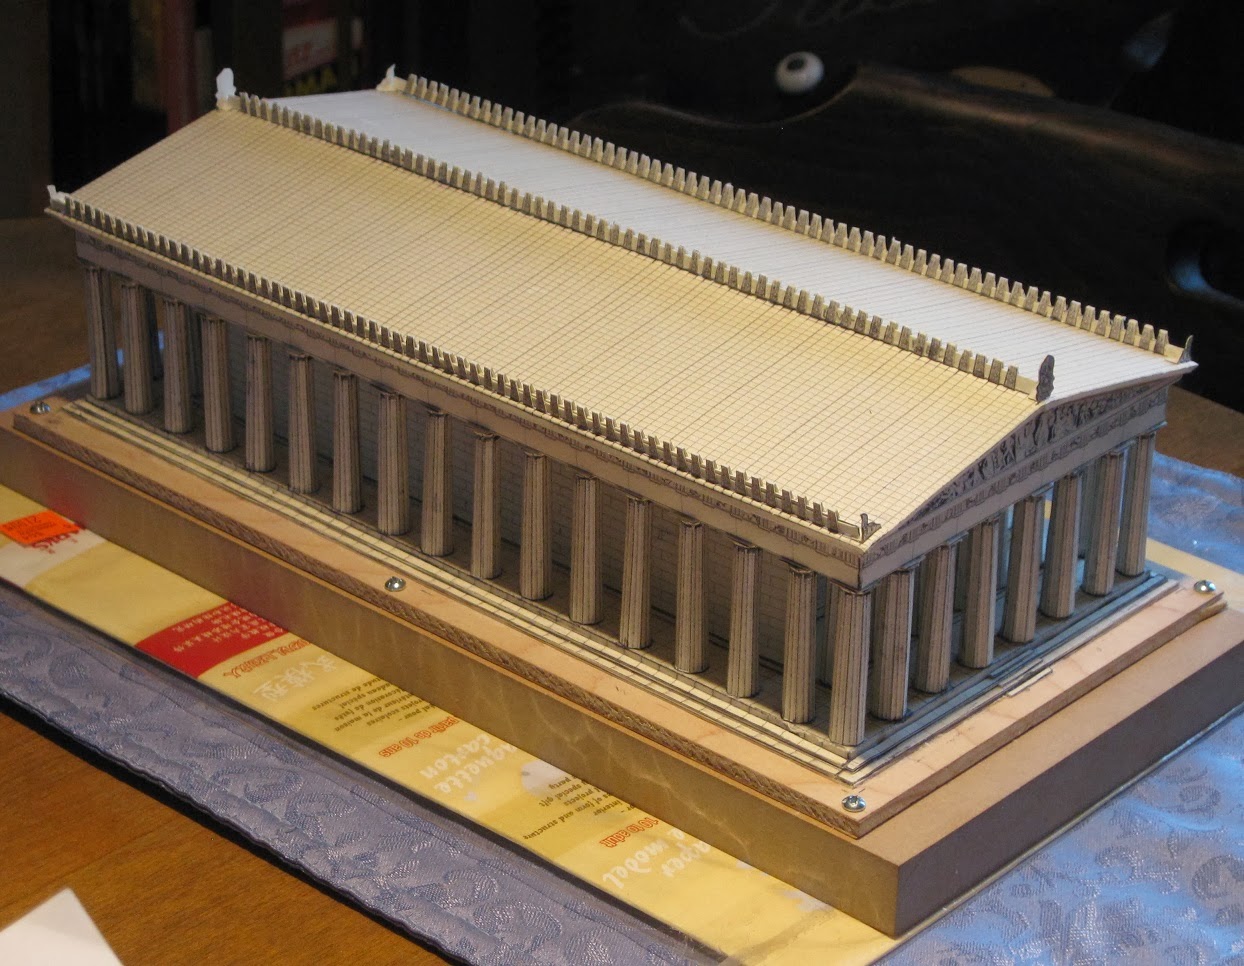
Select pics of the 1/250th scale paper card stock model.
Looks pretty real, don't it?


I have unscrewed the model from the heavy MDF particle board
that it was mounted to to keep it from warping as I finished the final assembly
on the model, and it worked. The model is no longer twisted like it was when
I started it. I had mounted the model
itself directly to a piece of 1/4" drawer box bottom plywood to try and
stop the warping, but that did not work, so that is when I screwed the whole
get-go to the high density particle board, which is absolutely impervious to
warping, and it will hold a true flat plane forever, as long as it is not
directly exposed to liquids.


Anyhow, after I unbolted it, I had to take the whole model
to work to trim the plywood base down surrounding the model on all four sides
on one of our industrial table saws, so that the plywood base looks like a
fourth step. The proportions of the model with that extra step looks fantastic.
I intend to laminate the excess blank paper that was left over from the kit to
the exposed plywood edges to make the base look like a part of the model, in
the form of that fourth step. Pictures will follow after I'm done doing this.
The plywood has about an eighth inch reveal all the way around the model, now.

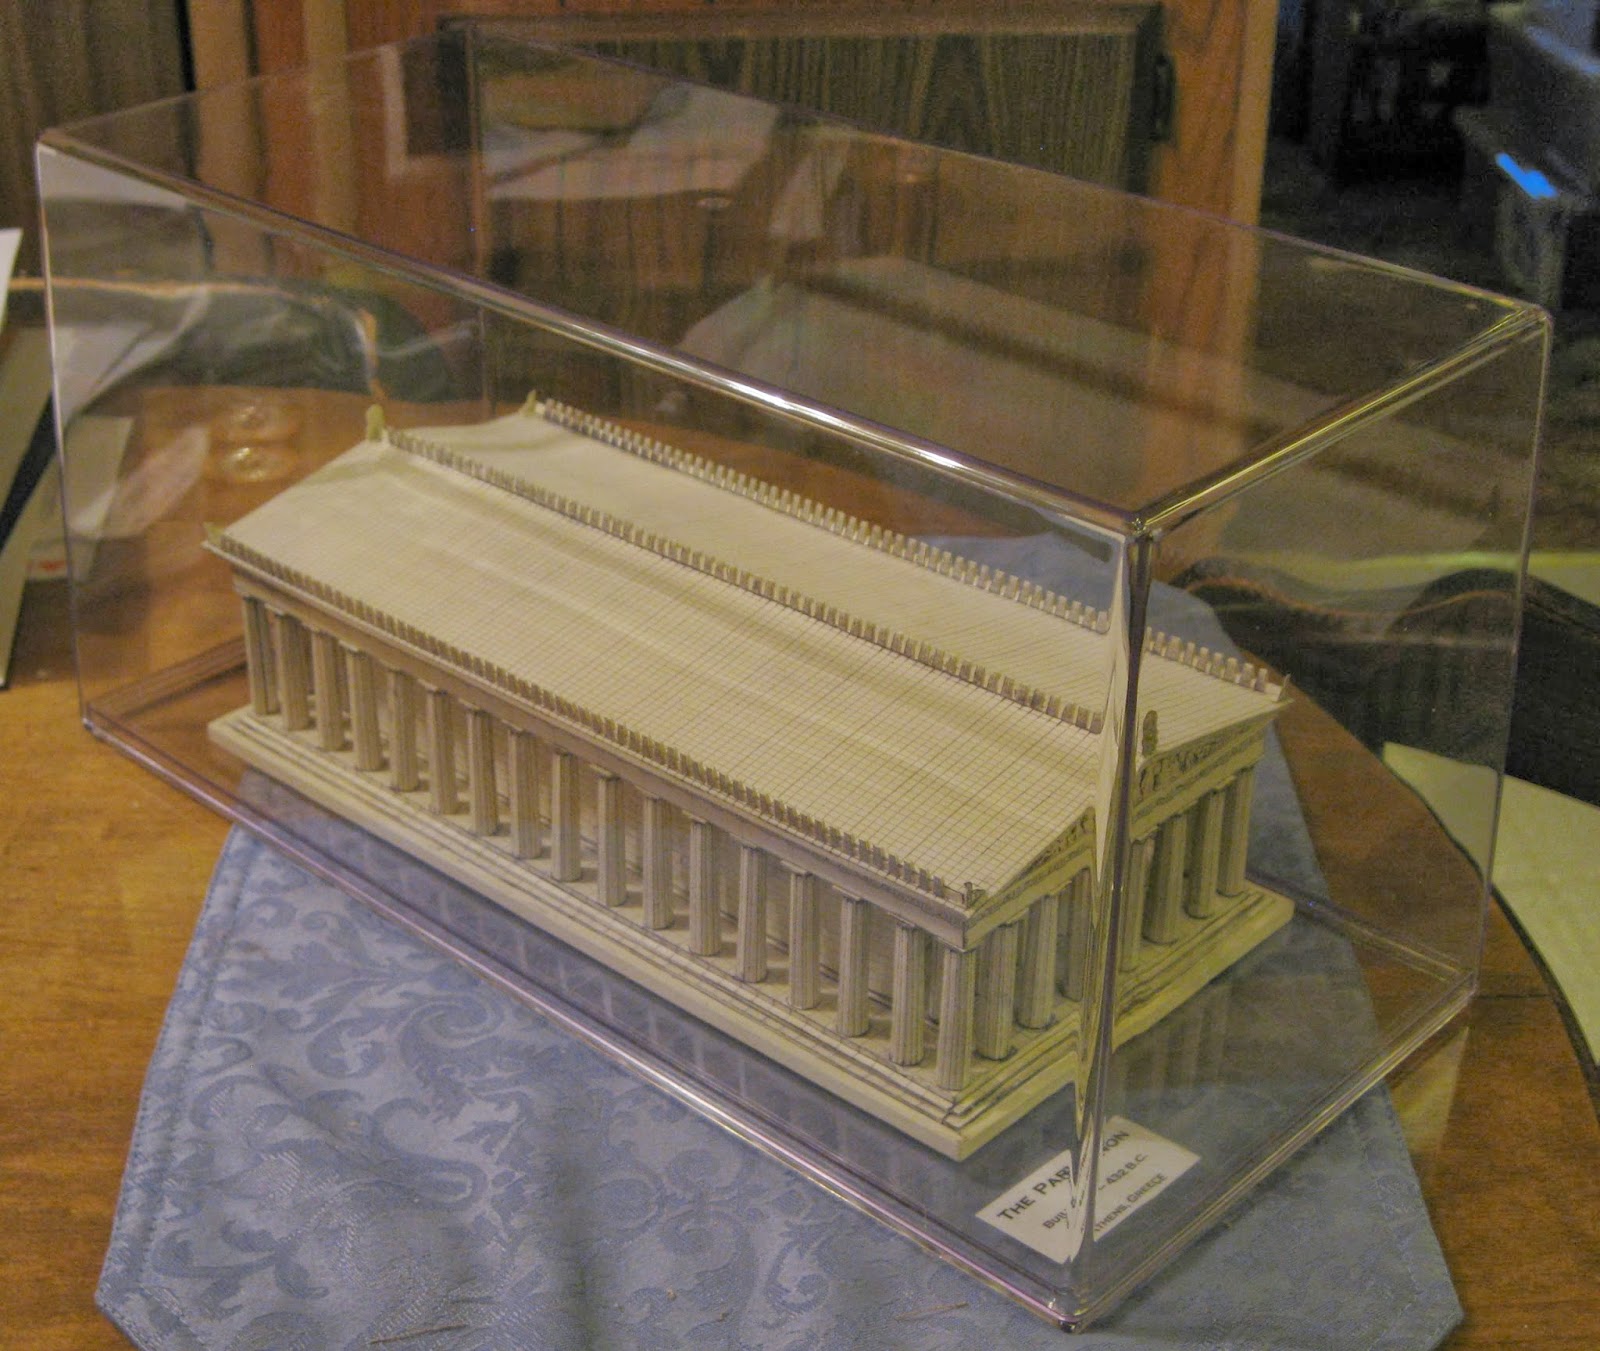
Heavy 15 inch long molded clear acrylic (plexiglas) display
box protects the model from dust, moisture and impact damage, now. This box is
much more resilient from impact damage than the clear polystyrene display boxes
they make for model cars. The model is secured to the display box base with two
very short flush head sheet metal screws.
As I suspected, A C Moore had these in stock in several
sizes, and this one was the only one in stock big enough to fit my model.

I'm planning on doing another one of these Parthenon kits...
not happy how this one came out. I ordered two more of these kits from a place
that has them in California.
Because the instructions do not give an assembly order
sequence that is specific enough for this model, there are some parts I had to
specifically modify and/ or purposely damage to get them to fit. With the
experience of building one under my belt, this second model when I do it will
not only come out better, but I'll probably be able to do it in about
two-thirds of the time it took me to do this one. I know EXACTLY now how the
order of assembly needs to go now in order for the thing to come out not warped
and twisted. You know the old saying,"Hind sight is always 100%".
This second model, I will not feel like I am "stumbling around in the
dark" so to speak like I did with this one.

Jim.


